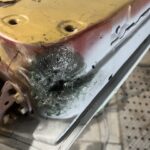
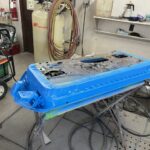
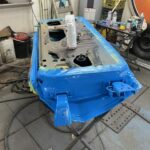
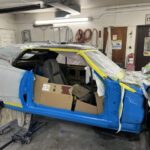
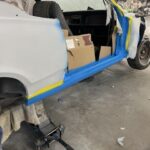
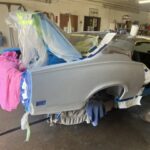
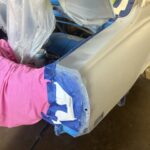
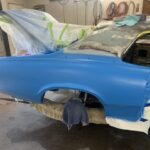
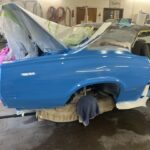
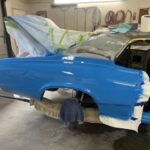
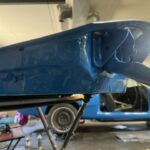
It’s official and the title of this rant says it all! This quarter panel is now complete and that leaves three panels left to deal with welding, body, and paint. I don’t want to gloss over my process of body and paint as fool proof because it really really isn’t. Take for instance this last panel that I painted. The passenger quarter panel was next up on my list of things to do. I began by taking the door off and prepping the inner structure that required paint. The outer side was still in high build primer. The inner side required some sanding, and then drip check on the bottom outer shell lip that forms at the bottom of the door. The drip check is a 3M concoction that resembles weatherstripping glue (if you ever had the pleasure to work with that). You will not see the repair area on this car as there is a plastic molding that pretty much covers it visually. Still, that sanding takes time and some primer was necessary. I had a corner of the inner structure of the door that had a hole from rust and I made the decision to use Kitty Hair fiberglass material to fill the void from the inside and then finish the outside with reinforced fiberglass putty and then body putty. I highly doubt that this will cause any issue of rusting out. It is in an area not seen and out of the way on the inner corner of the door. I looked at welding pieces but that would take a lot of forming time and it didn’t guarantee that the weld would burn through from thinner metal beside the problem area. This Kitty Hair makes hard stuff. If I am wrong and it does come through with a vengeance I will address it then…..but this likely won’t happen. These are these decisions along the way that some would call “Cutting corners!”. I like to call these choices “The right thing to do so that I don’t lose another month, a thousand dollars, additional skin burns from my welder, and sanity along the way”. There are two photos below of this area; one after the Kitty Hair application and one completed with paint. I catch myself all the time trying to make the car better and stronger than it needs to be. Leave that for the guys with the $150,000 builds. Move over because I want to drive this. At the time I was painting the inner door I also prepped and painted the door jam and the rocker panel.
Now for the story about the perfect quarter panel clear that could have been. In my shop I use a high speed air drying fan that fits its duck bill under the garage door venting a large amount of air outside. These fans over time develop a speed wobble in the air cage from abuse, age, and the like. Basically they can crawl along the floor from vibration when in operation at high speed. I use the weight of the garage door on the air exhaust port to hold this fan in place as it runs. I start this fan at the beginning of spraying and it stays on the duration of the spraying process venting the solvents that are released as the product dries. My first base application takes about five minutes with twenty minutes between coats to allow it to dry and flash off. I do three coats of base on this color each with twenty minutes dry time between coats. Then the clear coat process starts and this takes approximately the same amount of time with the same 20 mins between coats to allow to flash. When complete I will take five minutes to remove masking tape if there is a paint line next to the tape to stop the paint from peeling back if left too dry to remove. At this point I will get away from this panel to stop myself from admiring my work and checking out how the clear has flowed as it sets up. This is usually the time when I get too close and stick a sleeve or pant pocket into the clear coat. I also could be stirring up dust off the floor so it is better that I just leave the premises. The fan at this point has been running for 155 minutes staight with no issue. Sometimes after I left to go away from this car the fan worked itself away from the garage door causing this door to close shut. Now the fan is blowing all its air directly at the door and reflecting everywhere else stirring up dust from hell. I never have to worry about dust in areas near the car because the amount of pressure coming from the aerosols is quite low compared to a gun spraying at 22 lbs of air through the nozzle. I do have to care about a carpet fan blowing directly at a 90 degree surface at full force. My clear was only allowed to dry for five or so minutes at this time. I actually heard the sound change of the fan running normally to a fan running against a wall. Dust central is all I can say all over my clear. Now I will have to polish the dust specs out of the clear coat once it has cured. It will be then that the challenge of polishing the clear to just the right height and not burn through to the base coat will come to fruition. Ps. I was running out of clear coat to finish the quarter and noticed a couple of places where the clear was too light and not going to meld properly. I needed to add a bit more wet clear to these areas which would accept the new clear and meld appropriately. I did not want to open a new can of clear as it has a hardener and thus the clear would go to waste if not used within 24 hours. I did not have any other panels ready for clear so I opted to shake the beejeepers out of the two almost empty, spitting cans to add that small amount to the areas. I shook and shook and eventually the clear came out unevenly all over the surface….causing a run in two spots. One of the runs I already sanded out and polished but the other was a taller run …..short but tall…the worst kind. I sanded and polished right through that area where obviously there wasn’t the same thickness of clear as the other run. Now I have to re touch the base coat and do a blend with the clear using a NEW CAN. I will wait to paint the outer door shell for this new can to spray and repair my mistake. I was just trying to save $40 on a can of clear and I only needed a little bit to finish the job. Yep, what did I save again!