Well yes indeed it is time to finish the hood and store it for a time hopefully soon where the car will come together. I am going to put a gallery up first and then discuss the photos’ significance.
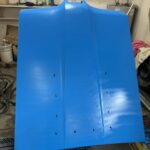
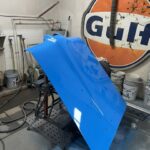
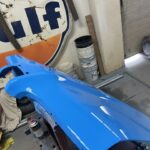
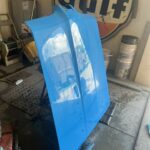
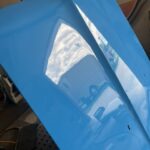
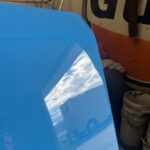
So, I had a bit of a challenge with the painting of this hood. For whatever reason, maybe a different brand of aerosol cans to hold the Grabber Blue paint, I am having blue paint drips splash out of the can while I am spraying, making my job tougher. I had this happen earlier and it seems to only happen when I am spraying a lot from the same can continuously. Earlier I was using the same cans for smaller items like end caps and fender extensions and I did not notice this problem. It could be bad cans I guess but none the less I have to deal with it between coats. I wet sanded the drips between coats with 800 grit paper and then had to clean the panel with window spray cleaner and a new cloth each time followed by a tack cloth. After three coats of base and three times repairing the base panel I was ready for the clear. I applied three coats of clear and had a couple very small runs near the top of the hood where it was hard to reach. In a perfect world I would have proper panel stands to hold the hood in place while I sprayed. I rigged up a precarious contraption that might fall with a loud sneeze and soldiered on. After the clear had cured for a few days I wet sanded the sags/runs and polished as good as I could. It is a fine line between sanding the drip out and cutting into the base coat. I was very close in one spot which would have ended in my spraying another coat of clear after an entire wet sanding. This is not what I wanted. I can still see a slight bump but no one will see it outside. I have to keep telling myself to let go of perfection which leads to my failure with my hood scoop.
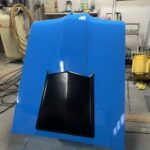
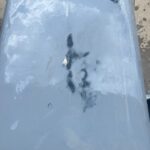
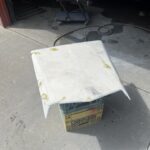
I had painted this scoop a couple months back and there were a couple spots where my body work repairing the scoop had some imperfections. I noticed these every time my eyes gazed on this scoop because I always was training myself to look for these imperfections and then stew about it. I have a couple young kittens in my shop who had jumped up on the table where these parts were stored and scratched lightly the top surface either by walking on it or stretching and sharpening claws on it. The final straw came when a friend came and I showed him the cat scratches and he said that it might be for the better because now I could fix the body work glitches. Remember what the old lady says? “Just let it be!”. I know she actually says “Just stop, drop, and roll!”. For those of you nearing my age or better you will remember the commercials on one of our two channels about what to do if you light your self on fire. I always think of this because on a couple of instances during welding I caught myself on fire and had to pat it out. I was always grateful to the wise old lady in case the fire wasn’t easily contained. I digress, in one photo I show the hood scoop on the hood before I decided to “FIX” the problem. Paints and primers don’t play well together. I had roughed up the areas to apply a thin coat of body putty (glaze putty) and applied. All was well. Then I block sanded these areas and scuffed the whole scoop to be re painted. At this point most of the areas were still black with the new areas requiring some primer for the paint to stick to the sanded glaze putty. This primer I used is a 1 k primer. There is no hardener but a ton of solvents in it. These solvents reacted within five minutes of spraying on the areas where the black paint met the new surface. The solvents from the disturbed black paint from feather edging were reacting with the solvents of the primer. I had to let it dry and re sand again. This time I was going to spray a 1 k primer sealer on it first using light coats. It went on without problem. Now I sprayed light coats of this same primer and it did not react with the primer sealer but did react with black paint further away. I should have sealed the whole scoop but elected to just touch up the areas worked on. Now I have to sand again and now I have a better idea. I am going to use a thick 2 k primer high build primer on the whole scoop which is made by the same company who made the black paint. I prepped and cleaned the whole scoop again. I pressed the hardener button on the 2 k primer can and shook until I felt dizzy. I applied the first light coat and waited. At about the two minute mark a circle resembling a car cigarette burn appeared……and then another, and another. The reactions were coming out in full force. I had to let this dry and then sand the whole scoop back down to the white fiberglass and start again which is what I am doing this week. One step forward, six steps back. I feel like i should stop, drop and roll!
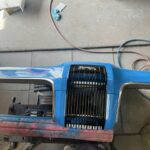
Before I sign off I will refer to the photo of the assembled front of the hood. I assembled the trim pieces and center section on the hood and it looks fine. I needed a win.