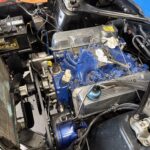
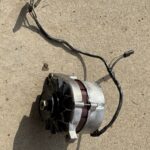
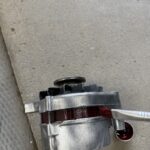
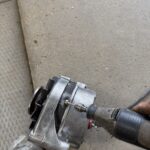
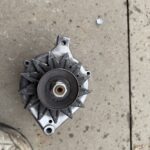
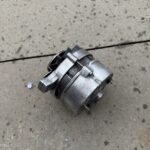
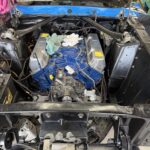
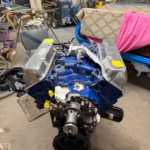
Finally the engine has been assembled with valve covers on loosely and old spark plugs guarding their respective holes. Thanks to my handy cherry picker and equalization lifting bar we were successful at attaching the engine to the transmission. This transmission is known as an FMX. It had bright red fluid in it but has not been asked to work for over 40 years. I am not even sure if it will work once called upon so I did not want to invest a bunch of cash into seals and fluid and filter in to it until I know that it will work. The one seal that I did replace was the torque converter seal. It would require the transmission to come out in order to change where as the pan gasket, filter and possibly the shifter linkage seal could be done from underneath the car with the transmission in place. This car has headers which impedes easy removal of the transmission. So the seal was changed. I will top up the transmission fluid before running and hope for the best. The seal looked to be in decent condition but the rubber component that squeeze onto the hub of the torque converter likely was dry so out it came. I hadpreviously prepared the vast majority of the parts needed to be attached to the engine like the fan and extension including their four long fine thread bolts, the power steering pump, bracket and bolts, spacers, etc. The bolts are mostly hardened steel and they clean well in the bench grinder with wire wheel attachment. Then a coat of clear leaves behind their natural look. If the clear is damaged after installing the bolts I can touch up with a brush. The purpose is to coat the part to separate the air that has moisture from the bare metal which will lead to rust. The fan and pulleys were painted semi flat black. I looked at the original alternator that was lying on the frame of the car and chose the other alternator that came from the parts car. I used a drill with several wire wheel attachments to clean the corrosion off the aluminum pieces as well as the steel components. The steel was painted black and the aluminum was left’as is’ after cleaning. I repainted the dark red band that is in the center of the housing. It just makes the alternator look new. It took me a couple hours to do this to the alternator and it might turn out that this alternator is not charging and may need replacing but I am willing to chance it. Hope for the best……swear at the worst! I ordered new plugs, spark plug wires, points, rotor and cap. I have a lot of these items from various past vehicles but I chose to start out new. Remember…..new does not mean better. I might be putting a used set of points in this distributor if these fail from new as many new parts do fail. Even my original plug wires looked to be indecent shape but they are very old. I think back to my 68 T Bird that I drive that needed an electric part that is no longer available other than finding a used version. I walk over to one of my parts cars of the same year and remove the needed part and install. Who knew? It worked! I can almost promise that any new parts for the new junk on the road today WILL NOT work in 58 years. They likely will not work in ten years! So next on my list is to set the distributor into the engine, install the rebuilt carburetor and get ready to fire up. Since I am using the original cam shaft with new lifters, there isn’t a need to do a 22 minute break in with special oil. I put 10w 30 and some zink additive into the engine ready for that first start up in several decades.
So in the photo gallery I included some cool moon partial eclipse photos from the other night.