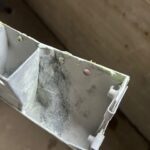
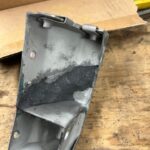
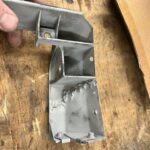
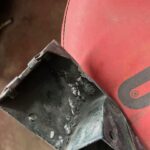
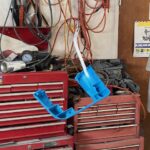
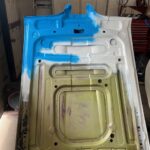
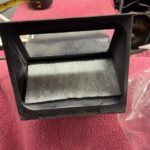
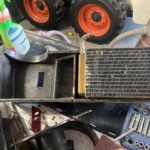
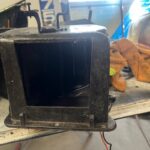
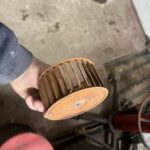
The heater box had to be removed from this car on account that likely from sitting on a farm for forty years the mice have made an Air B+B out of the heater plenum and invited all their friends for a nest party. The heater core would also have to be changed since all the antifreeze had solidified in this cooling system over the years. Luckily the parts car I purchased had a nice condition heater box with a recently changed heater core. Some of the metal vent doors had a coat of rust on them. These were bare metal from factory with one main vent door having some black paint. The parts had a very thin foam sheeting glued onto the vent door and surrounding structure. The material was used as a sound deadening application as well as to take away squeaks and noises from parts that were a bit smaller than the housing they fit into. To find something comparable I went to the hardware store and purchased 3/16 thin rubber foam like strips on a roll that was sticky on only one side. The thin foam material that encompassed the metal parts like vent door and outside I used a filter material that was meant for outdoor air conditioners. I cut the pieces I needed and spray glued the pieces into place as well as gluing my fingers so that all sorts of foreign material could come home with me. These two materials cost $50 but I will have more than enough to do other systems if need be or use the material for other uses. The fan gerbil wheel on the motor had surface rust so it was sand blasted and painted before installing. The cables to operate the vents were used from the parts car as they were not as stiff from sitting.
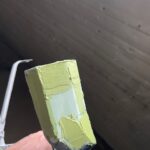
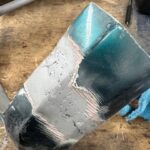
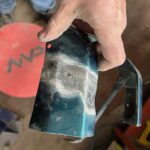
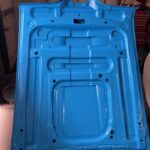
The hood I took a couple of days preparing it for painting. There was a small amount of bodywork done to the inside of this hood as there also was on the outside at one front corner. This was likely from a past accident. The body filler was cracking on the outside and also from vibration it was cracking on the formed pieces on the inside. This took time to shape and sand and prepare with primer and finally sand. The original paint was in good condition under the hood as the last person who had the parts car painted failed to paint the inside of the hood and left the original color on it. I always tend to leave good shape paint and primers alone and just sand the surface with 400 grit for paint. Sometimes removing all the material tends to create more problems and definitely way more time. I am at the point where I can repair any screw ups that arise from my decisions with leaving old paint and bodywork. It has lasted this long and shouldn’t cause any problems. I only shoot two and a half coats of clear on the underside of the hood. This is the same procedure for inner panels because they won’t be under lots of sunlight. Most of my cars aren’t going to be out in the elements anyways to have the sunlight cause damage. These cars aren’t going to be sloshing around in puddles during a rainstorm either. The nose cone that holds the front grill in place had a body crack on the side. I sandblasted the piece as it is made of white metal or something like it. It had been stick welded a long time ago to fix a break in the side of this piece. The welds were poor and the cracked metal was fighting itself to re open up. After blasting I used fiberglass body filler to hold the outside crack in the right position. I had to hold it until it was dry enough before letting go since the crack had a bit of pressure to re open. Then I used a JB Weld putty to form on the inside of this nose cone to solidify the damaged area. The bodywork was done and the piece was painted at the same time as the inner hood. Sorry the photos are in no particular order but you will get the idea.