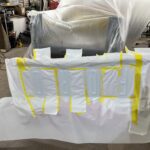
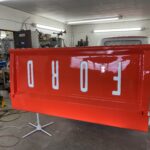
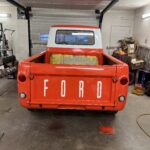
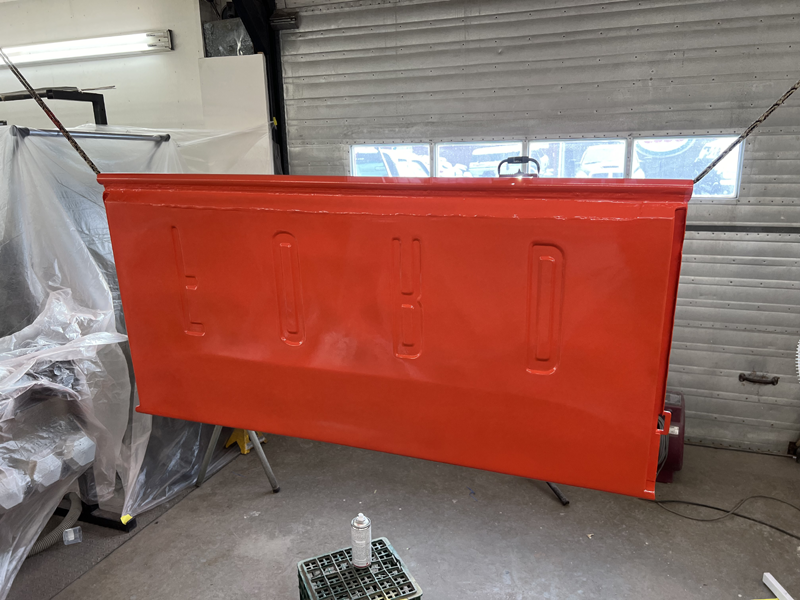
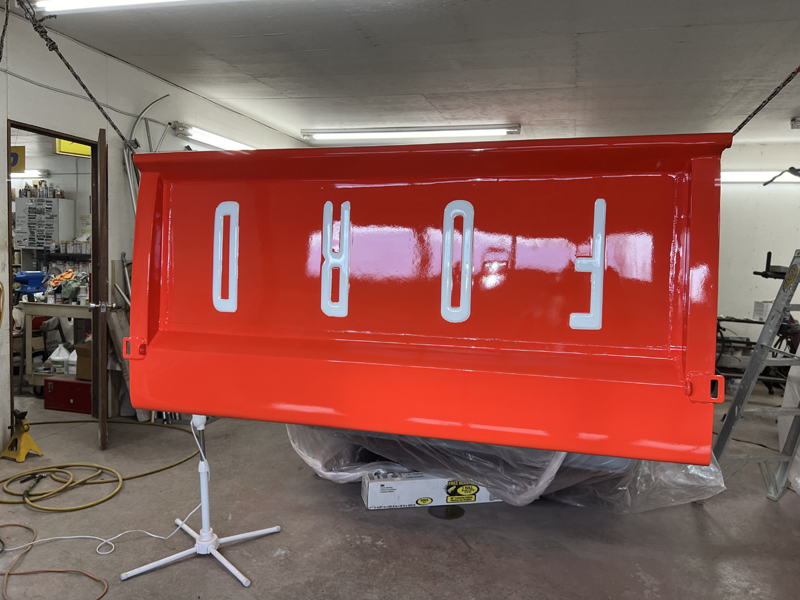
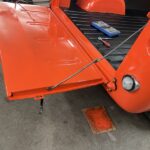
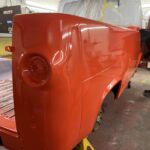
The tail gate was completed by first painting the orange on the complete panel and then masking off the letters to be painted white. Then the clear was applied.

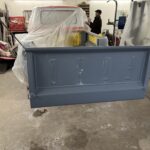

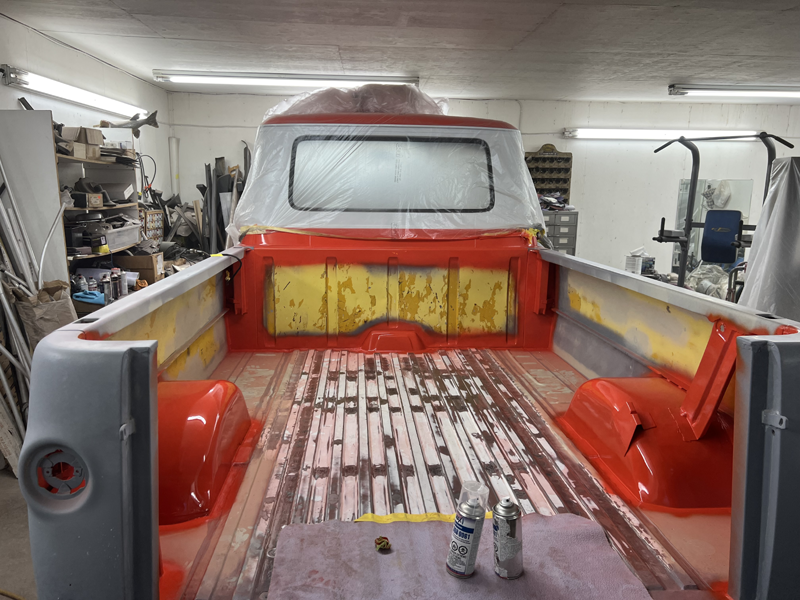
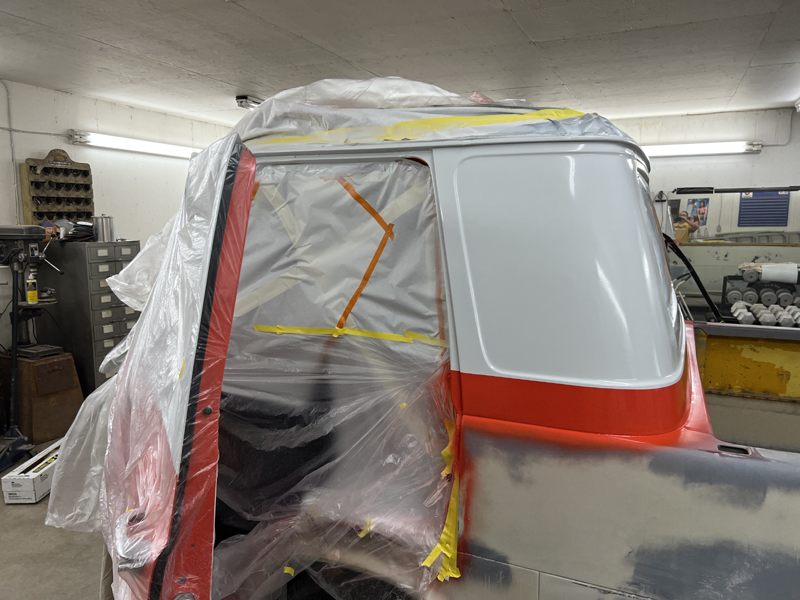
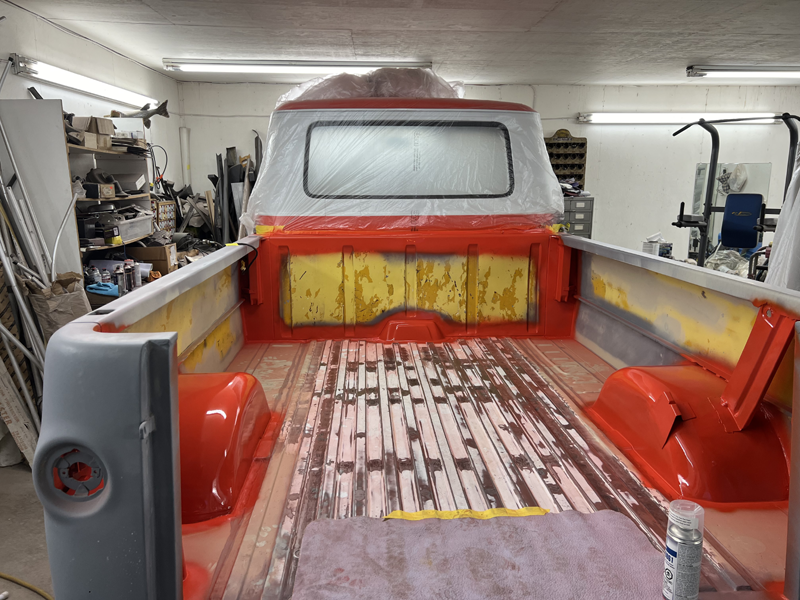
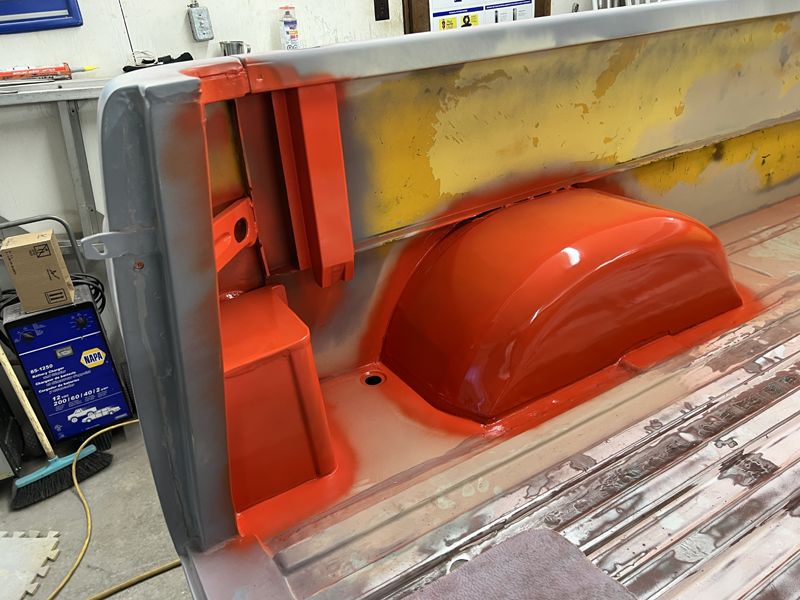
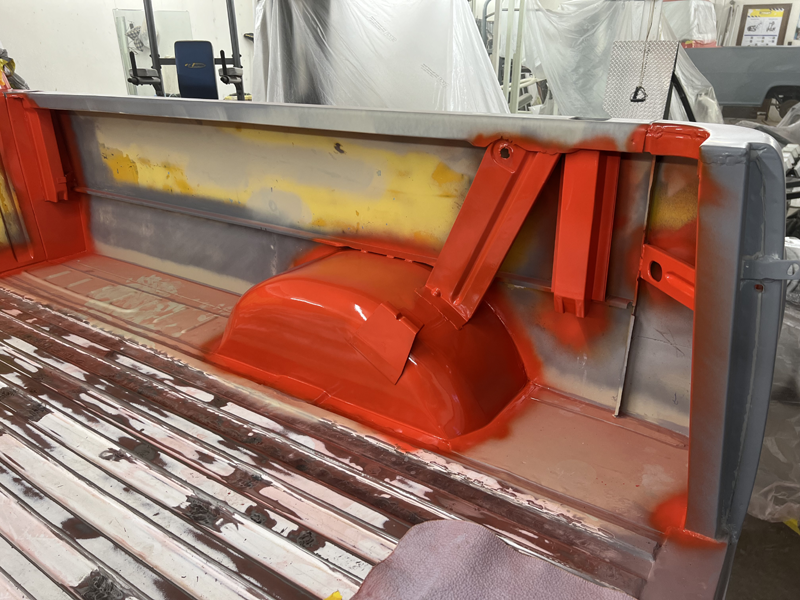
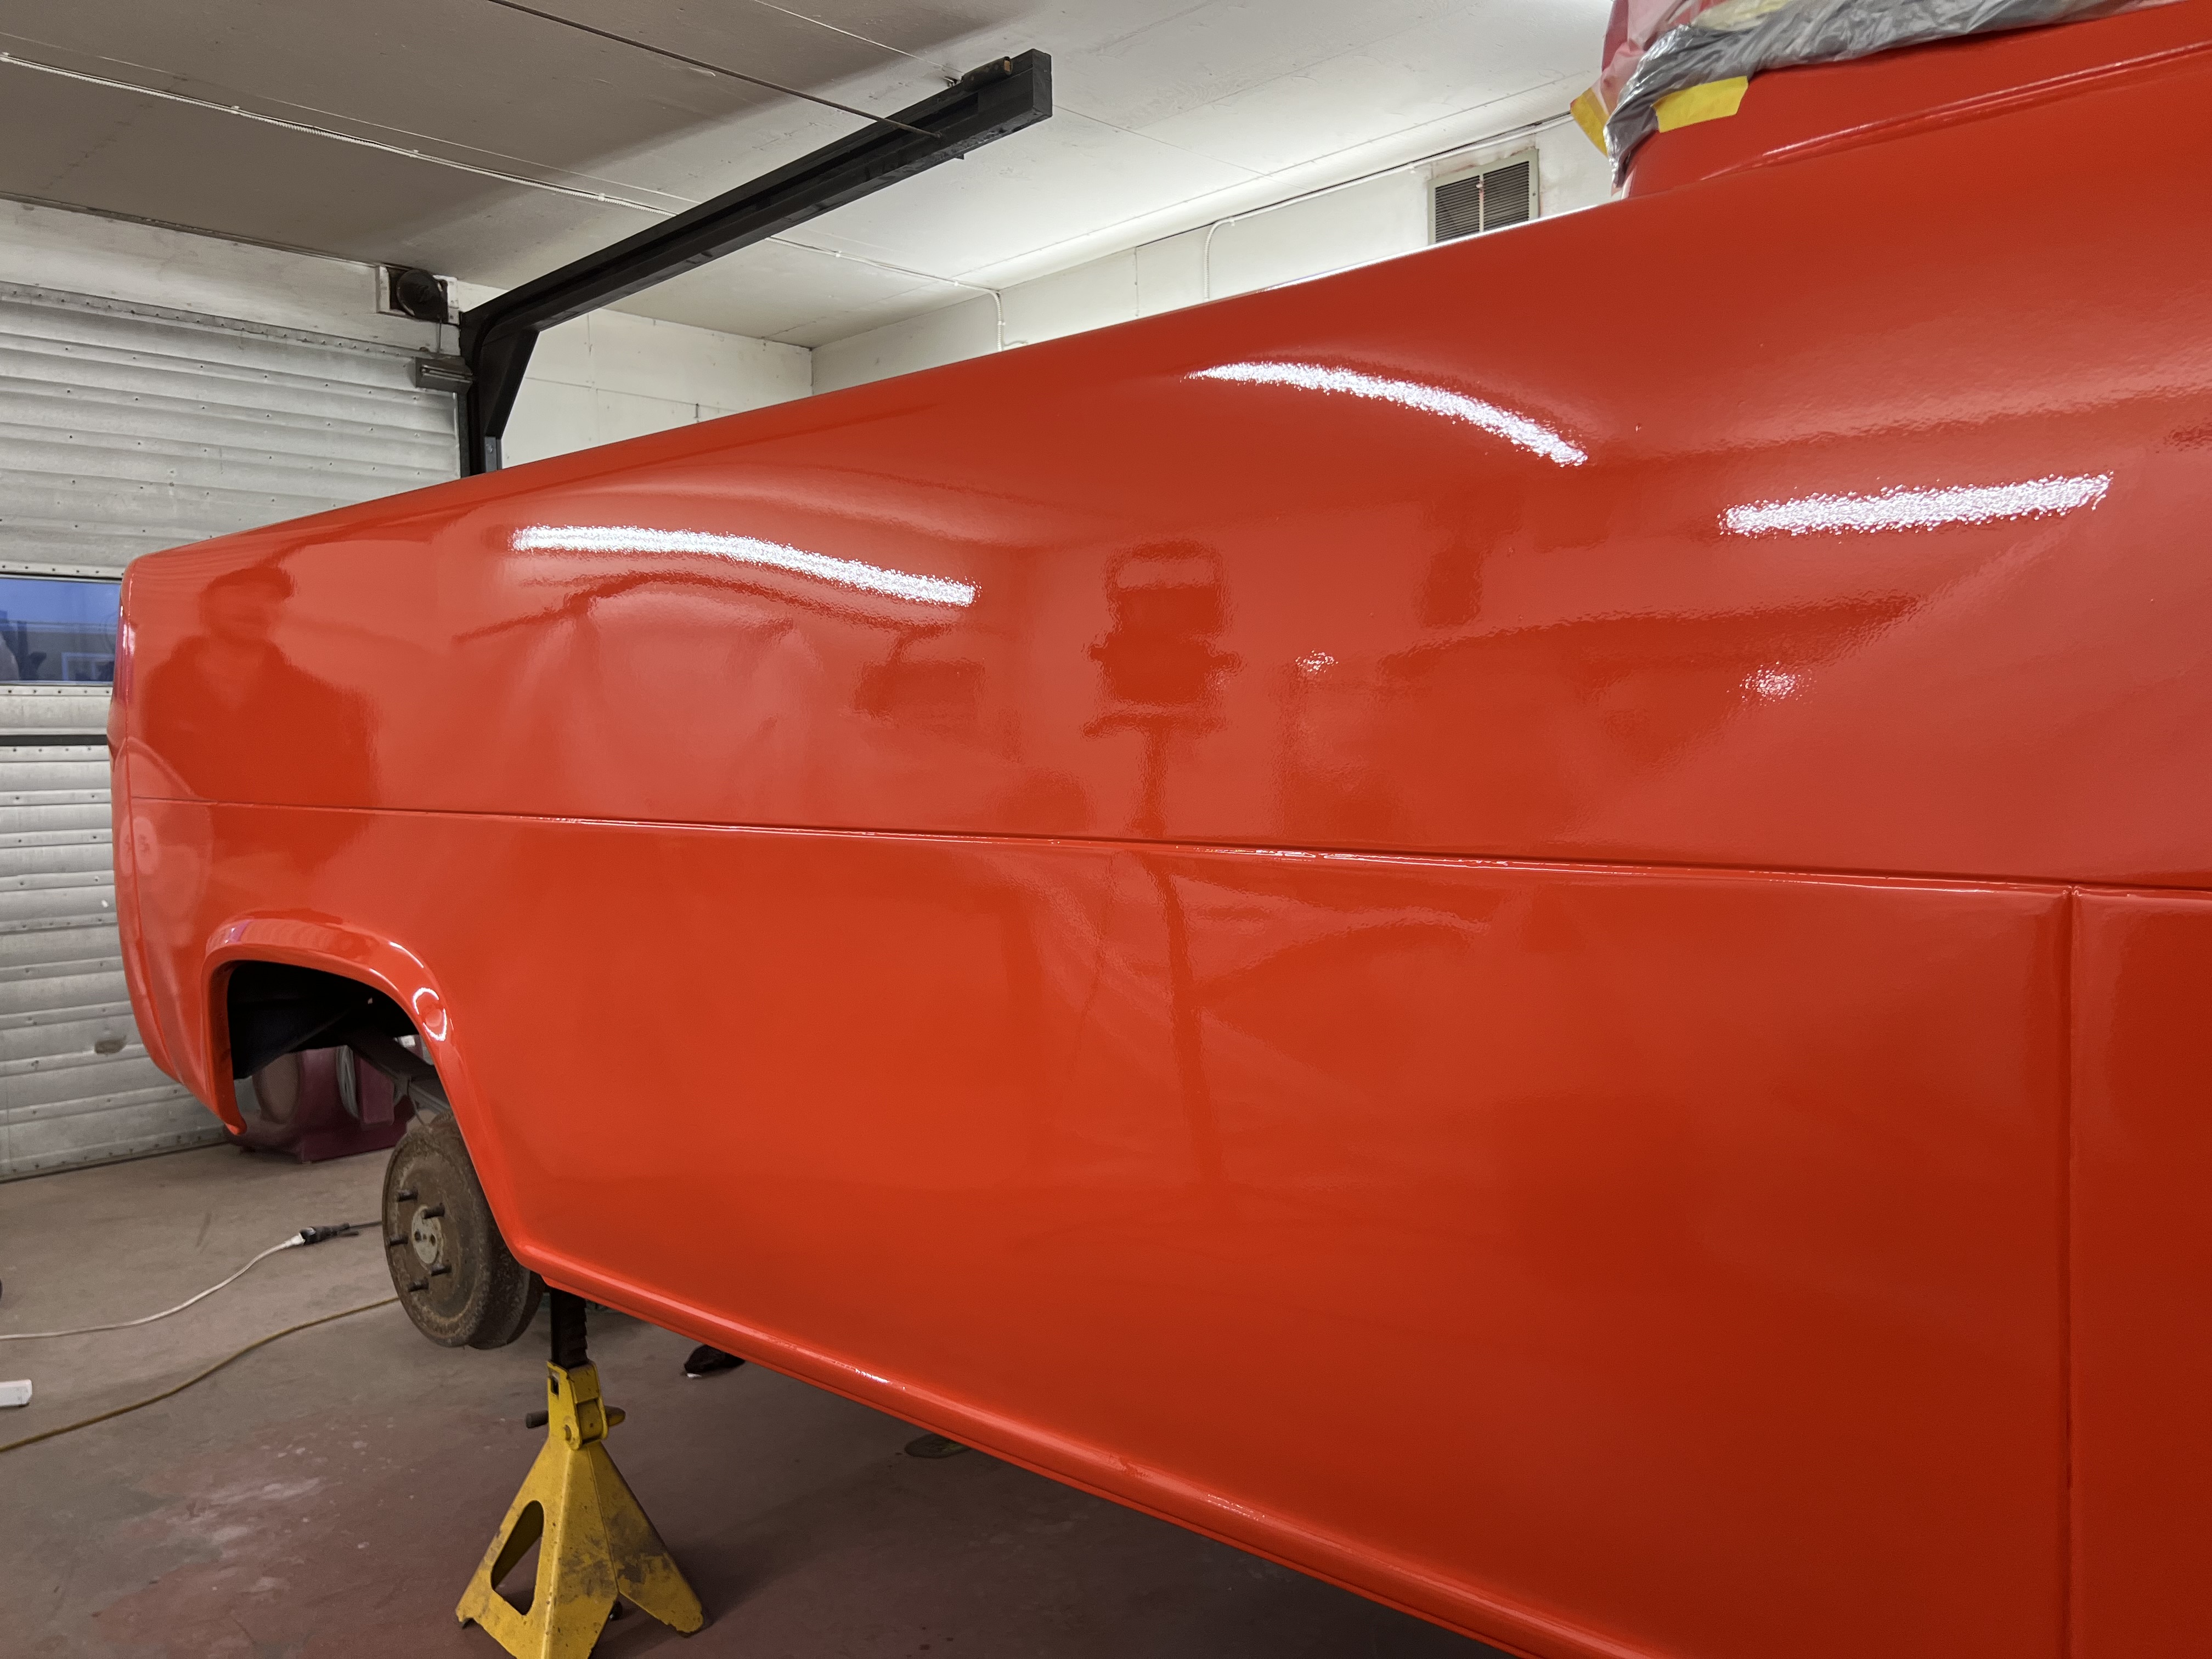
The bed was sanded and cleaned for bed liner being applied. The prominent parts that were to be painted were masked and done before the bedliner was applied. The paint on roof and sides of the vehicle were also done. Note, this process was done on several different days. I did not paint all the panels on the same day. I did not want to have overspray all over my shop and it is easier for me to concentrate on one panel at a time to bet the best job I could. I would have bright lights on what I was spraying allowing me to see if I had the right amount of clear on the panel to meld smoothly. Underspray results in a bumpy texture and overspray leads to runs in the clear. I also kept a heat gun close by if I felt that I applied too much clear to a horizontal panel I would speed the curing up with light heat to stop the run from occuring.
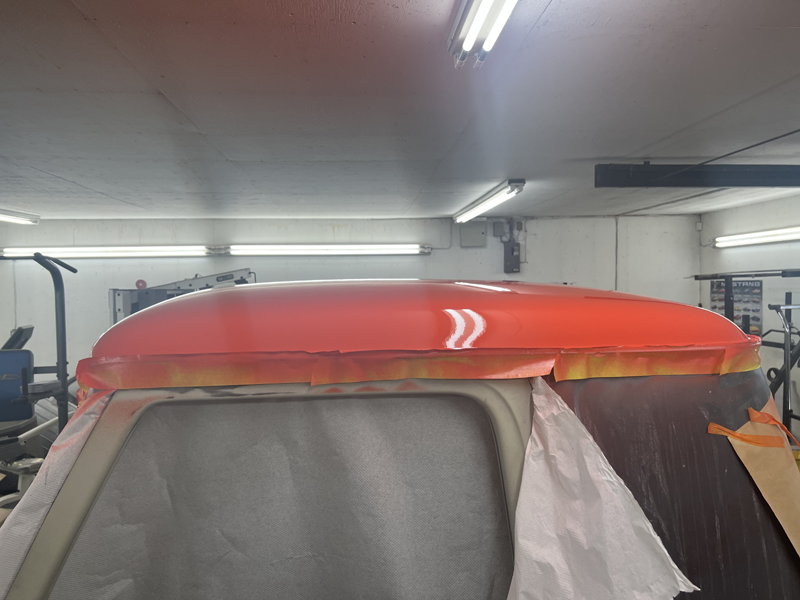


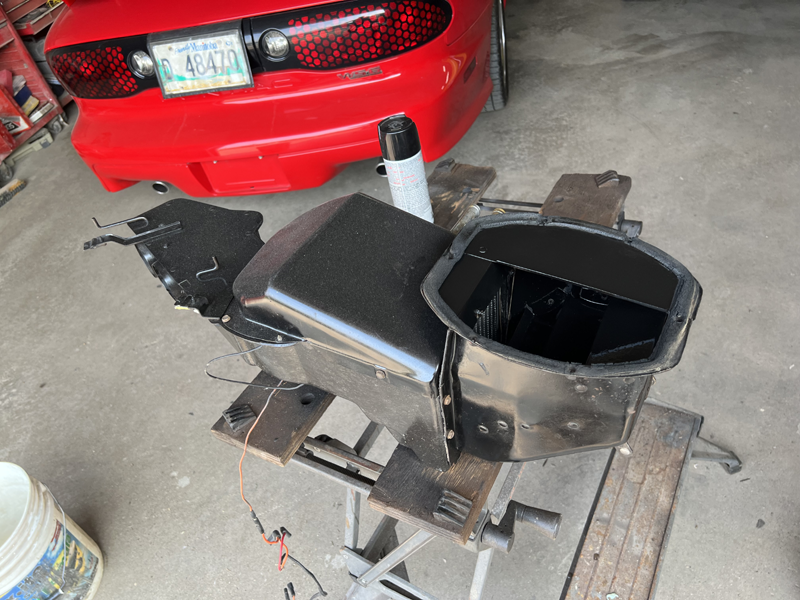
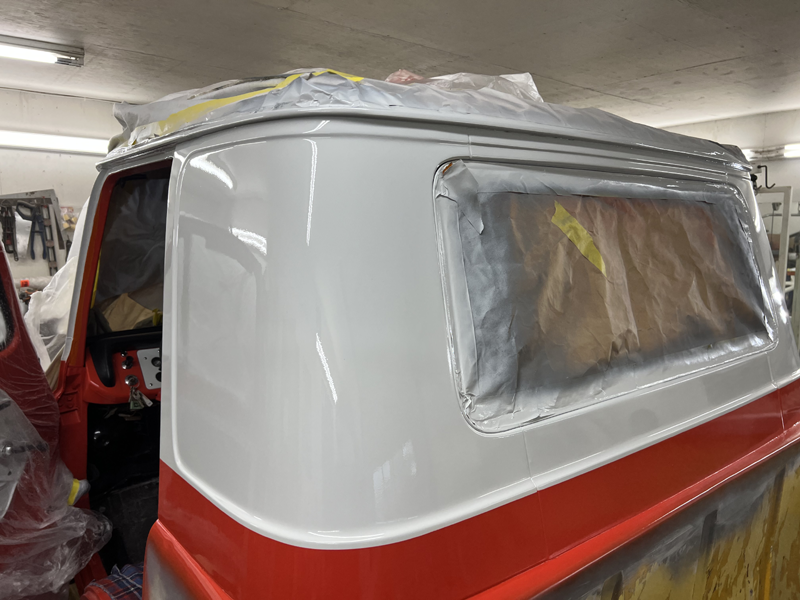

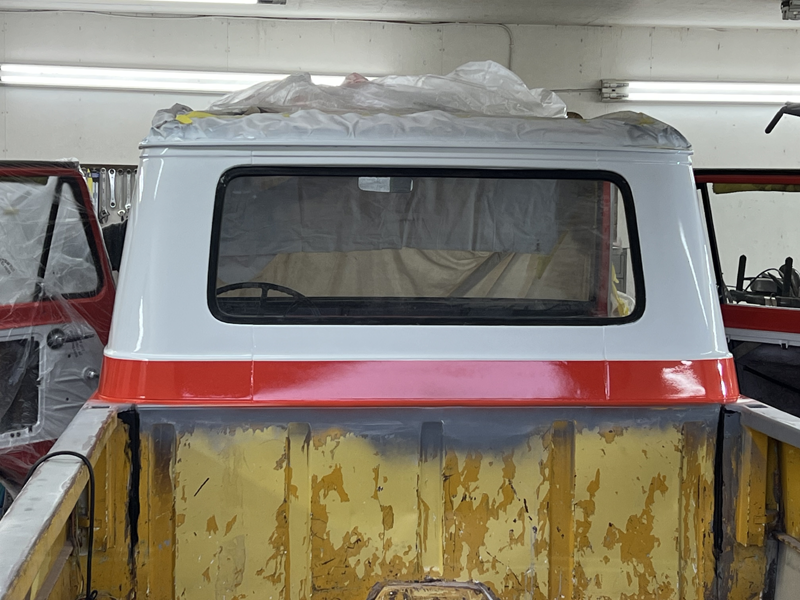

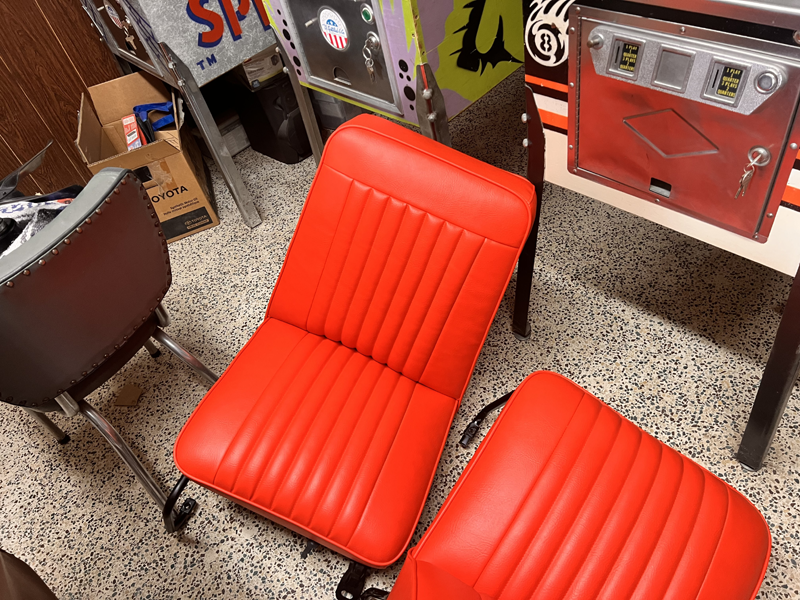
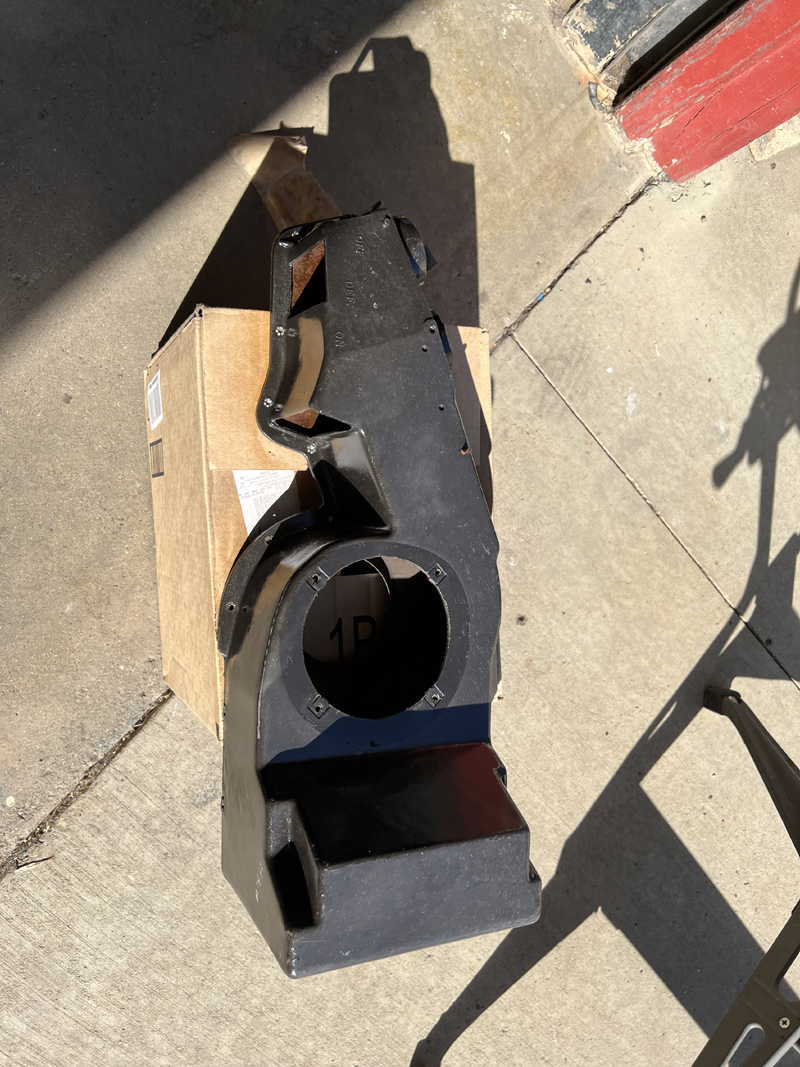
I included a few different photos in this last gallery. The heater box was removed and torn down. It was cleaned and painted for a clean finish. We made sure that the fan was working as it should. The seats I had reupholstered and ready to go a while back in this build. It is so much easier to have as much ready to be assembled in to the finished product as possible. The side mirrors were ordered as were all the new weatherstripping and window felts. The roof was painted in my shop which did not allow for head room. It was the trickiest of all the panels to lay down the base and the clear. It was just long enouth that I couldn’t reach the entire roof from either the back, the front or either of the sides so I had to have milk crates set up around the vehicle to walk on to have a constant flow from the aerosol can.
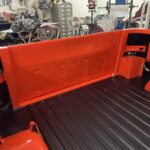
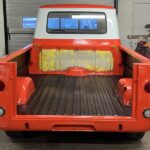
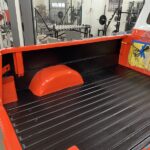
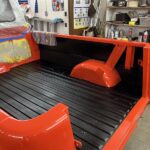
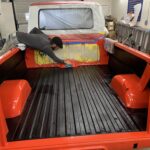
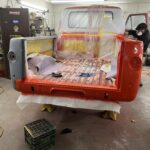
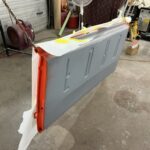
Here the bed liner was applied so all the orange panels had to be masked out after being sprayed days before. I am happy with the results of this method. It isn’t cheaper by any means. If I had to complain about something it would be the high build primer I used that is a 2k product (had a hardener button on bottom of the can that is pressed to add it to the product). This primer does not have the same coverage ability as primers I have used with a gun. I just can’t mix the right amount to do a panel at a time that it would waste so much product. I don’t want to be priming larger portions in my building due to the overspray….and primer goes everywhere and sticks really well like it was intended.